
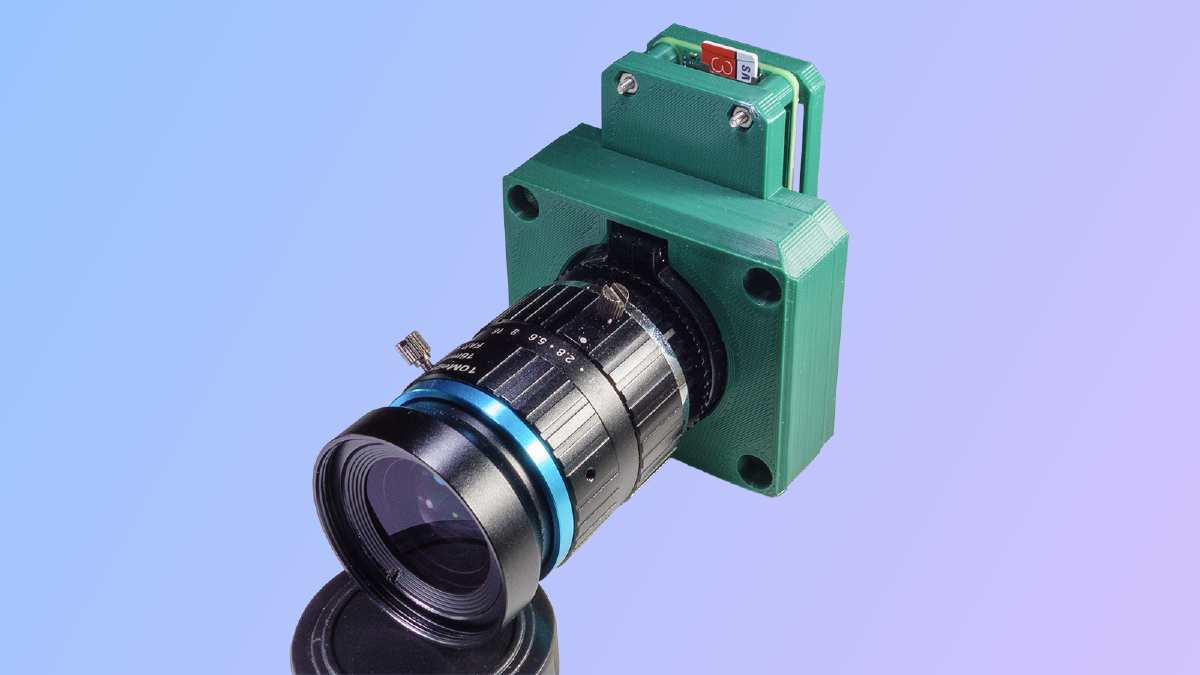
이 글에서는 라즈베리 파이 제로 카메라를 윈도우 환경에서 USB 웹캠으로 사용할 수 있도록 변환하는 방법을 설명한다. 한 가지 유의할 할 점은 라즈베리 파이 OS는 지속적으로 엡데이트가 이루어지고 있기 때문에 여기에서 설명한 방법은 최신 OS에서는 작동을 안 할 수도 있다. 그러나 UVC 카메라로 변환시키기 위한 출발점은 될 수 있을 것이다.
이 글은 여기(Plug-and-Play Rasberry Pi USB webcam)를 참고하였다.
1. 준비물#
- Raspberry Pi Zero 2 W
- 마이크로 SD 카드
다음은 라즈베리 파이 OS를 설치할 때만 필요하고 USB 웹캠으로 변환한 후에는 필요없다.
- HDMI 포트가 있는 모니터
- Mini HDMI 케이블
- 키보드/마우스
- USB-C 타입 허브
- C-type to 5 pin 변환 젠더
2. 라즈베리 파이 OS 설치#
Raspbery Pi Device: Raspberry Pi Zero 2 W Raspberry Pi OS: Bullseye (32-bit)
라즈베리 파이 공식 OS 설치 도구인 Raspberry Pi Imager를 내려받아 설치한다. (공식 다운로드 링크: Raspberry Pi Software
Raspberry Pi Imager를 실행하고 해당 디바이스와 OS를 선택하여 마이크로 SD 카드에 OS 이미지를 쓴다.
Wifi 설정 SSH와 VNC 활성화
3. uvc-gadget 설치#
버전: uvc-gadget 0.4.0
라즈베리 파이에서 터미널 창을 열고 다음의 명령을 차례로 실햄한다.
echo “dtoverlay=dwc2,dr_mode=otg” | sudo tee -a /boot/config.txt dtoverlay=dwc2,dr_mode=otg
sudo apt install git meson libcamera-dev libjpeg-dev
git clone https://gitlab.freedesktop.org/camera/uvc-gadget.git
cd uvc-gadget
make uvc-gadget
cd build
sudo meson install
sudo ldconfig
이제 라즈베리 파이가 켜질 때마다 필요한 설정을 하는 bash 스크립트가 필요하다.
- sudo nano ~/.rpi-uvc-gadget.sh
아래의 코드를 복사하여 붙여넣고 저장한다.
#!/bin/bash

# Variables we need to make things easier later on.

CONFIGFS="/sys/kernel/config"
GADGET="$CONFIGFS/usb_gadget"
VID="0x0525"
PID="0xa4a2"
SERIAL="0123456789"
MANUF=$(hostname)
PRODUCT="UVC Gadget"
BOARD=$(strings /proc/device-tree/model)
UDC=`ls /sys/class/udc` # will identify the 'first' UDC

# Later on, this function is used to tell the usb subsystem that we want
# to support a particular format, framesize and frameintervals
create_frame() {
	# Example usage:
	# create_frame <function name> <width> <height> <format> <name> <intervals>

	FUNCTION=$1
	WIDTH=$2
	HEIGHT=$3
	FORMAT=$4
	NAME=$5

	wdir=functions/$FUNCTION/streaming/$FORMAT/$NAME/${HEIGHT}p

	mkdir -p $wdir
	echo $WIDTH > $wdir/wWidth
	echo $HEIGHT > $wdir/wHeight
	echo $(( $WIDTH * $HEIGHT * 2 )) > $wdir/dwMaxVideoFrameBufferSize
	cat <<EOF > $wdir/dwFrameInterval
$6
EOF
}

# This function sets up the UVC gadget function in configfs and binds us
# to the UVC gadget driver.
create_uvc() {
	CONFIG=$1
	FUNCTION=$2

	echo "	Creating UVC gadget functionality : $FUNCTION"
	mkdir functions/$FUNCTION

	create_frame $FUNCTION 640 480 uncompressed u "333333
416667
500000
666666
1000000
1333333
2000000
"
	create_frame $FUNCTION 1280 720 uncompressed u "1000000
1333333
2000000
"
	create_frame $FUNCTION 1920 1080 uncompressed u "2000000"
	create_frame $FUNCTION 640 480 mjpeg m "333333
416667
500000
666666
1000000
1333333
2000000
"
	create_frame $FUNCTION 1280 720 mjpeg m "333333
416667
500000
666666
1000000
1333333
2000000
"
	create_frame $FUNCTION 1920 1080 mjpeg m "333333
416667
500000
666666
1000000
1333333
2000000
"

	mkdir functions/$FUNCTION/streaming/header/h
	cd functions/$FUNCTION/streaming/header/h
	ln -s ../../uncompressed/u
	ln -s ../../mjpeg/m
	cd ../../class/fs
	ln -s ../../header/h
	cd ../../class/hs
	ln -s ../../header/h
	cd ../../class/ss
	ln -s ../../header/h
	cd ../../../control
	mkdir header/h
	ln -s header/h class/fs
	ln -s header/h class/ss
	cd ../../../

	# This configures the USB endpoint to allow 3x 1024 byte packets per
	# microframe, which gives us the maximum speed for USB 2.0. Other
	# valid values are 1024 and 2048, but these will result in a lower
	# supportable framerate.
	echo 2048 > functions/$FUNCTION/streaming_maxpacket

	ln -s functions/$FUNCTION configs/c.1
}

# This loads the module responsible for allowing USB Gadgets to be
# configured through configfs, without which we can't connect to the
# UVC gadget kernel driver
echo "Loading composite module"
modprobe libcomposite

# This section configures the gadget through configfs. We need to
# create a bunch of files and directories that describe the USB
# device we want to pretend to be.

if
[ ! -d $GADGET/g1 ]; then
	echo "Detecting platform:"
	echo "  board : $BOARD"
	echo "  udc   : $UDC"

	echo "Creating the USB gadget"

	echo "Creating gadget directory g1"
	mkdir -p $GADGET/g1

	cd $GADGET/g1
	if
[ $? -ne 0 ]; then
		echo "Error creating usb gadget in configfs"
		exit 1;
	else
		echo "OK"
	fi

	echo "Setting Vendor and Product ID's"
	echo $VID > idVendor
	echo $PID > idProduct
	echo "OK"

	echo "Setting English strings"
	mkdir -p strings/0x409
	echo $SERIAL > strings/0x409/serialnumber
	echo $MANUF > strings/0x409/manufacturer
	echo $PRODUCT > strings/0x409/product
	echo "OK"

	echo "Creating Config"
	mkdir configs/c.1
	mkdir configs/c.1/strings/0x409

	echo "Creating functions..."

	create_uvc configs/c.1 uvc.0

	echo "OK"

	echo "Binding USB Device Controller"
	echo $UDC > UDC
	echo "OK"
fi

# Run uvc-gadget. The -c flag sets libcamera as a source, arg 0 selects
# the first available camera on the system. All cameras will be listed,
# you can re-run with -c n to select camera n or -c ID to select via
# the camera ID.
uvc-gadget -c 0 uvc.0- sudo chmod +x ~/.rpi-uvc-gadget.sh
이 스크립트를 라즈베리 파이가 켜질 때마다 실행시키기 위하여 /etc/rc.local 파일에 추가해야 한다.
- sudo nano /etc/rc.local
다음 명령을 /etc/rc.local 파일의 exit 0 앞에 추가하고 저장한다.
/home/<username>/.rpi-uvc-gadget.sh &<username> 자리는 본인의 사용자명으로 대체한다.
- 라즈베리 파이를 shutdown 한 후, 모니터, 마우스, 키보드를 모두 제거한다.
4. 테스트#
USB 케이블로 PC와 라즈베리 파이를 연결하고 재부팅한다.
윈도우의 ‘카메라’를 시작하고 리즈베리 HQ 카메라를 인식하는지 확인한다.